How to install a remote control on a truck crane?
Installing a remote control on a truck crane can greatly enhance the operational efficiency and safety of your equipment. This process allows for greater flexibility, enabling operators to control the crane from a distance, thereby improving visibility and reducing the risks associated with ground-level operation. In this article, we will explore the steps required to install a remote control on a truck crane, including essential components and tips for a successful installation.
Understanding the Basics
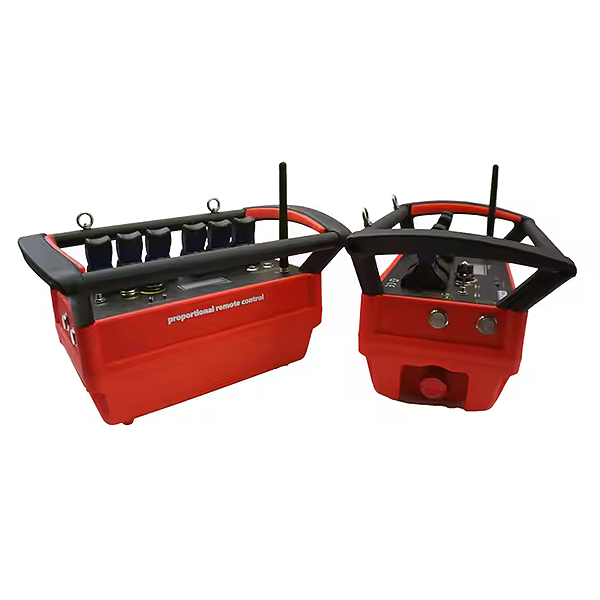
Before diving into the installation, it's crucial to understand the basic components of the truck crane remote control system. A typical setup includes a transmitter (the remote) and a receiver (the part attached to the crane). These devices communicate wirelessly, allowing operators to perform tasks with precision and ease. The truck-mounted crane remote control offers several benefits, including improved safety during operation and enhanced efficiency in lifting and moving loads.
Step-by-Step Installation Guide
1. Gather Necessary Tools and Components
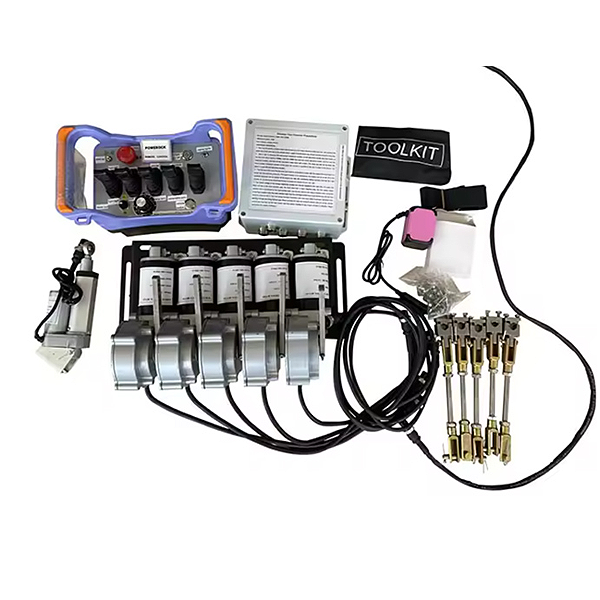
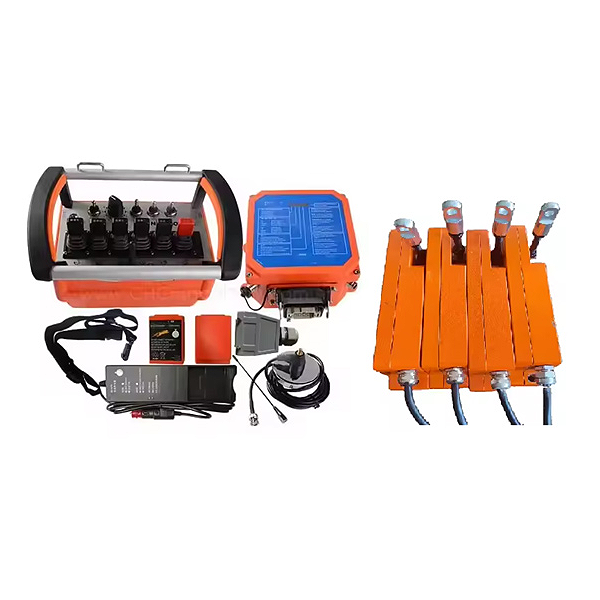
To install a remote control on a truck crane, you'll need the following tools and components:
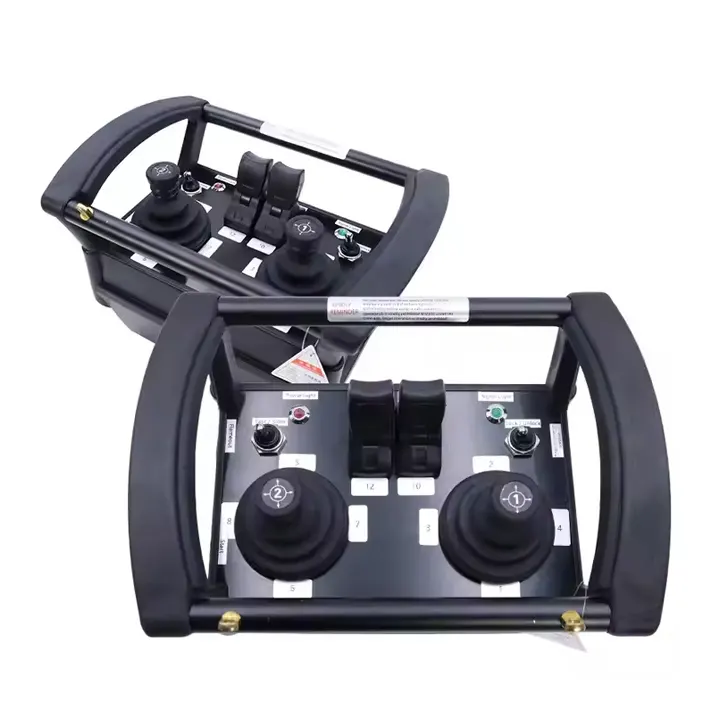
- Remote control for truck crane (compatible with your crane model)
- Receiver unit
- Power source (batteries or connection to the crane's power system)
- Wiring harness
- Basic hand tools (screwdrivers, wrenches, etc.)
2. Remove the Existing Control Panel
Begin by disconnecting the crane's power supply to ensure safety during installation. Then, carefully remove the existing control panel from the crane. This may involve unscrewing screws or unclipping connectors. Make sure to keep all components in a safe place for reinstallation later.
3. Install the Receiver Unit
Once the control panel is removed, install the receiver unit in a suitable location on the crane. Ensure it is securely mounted and protected from environmental factors, as weatherproof remote control for truck crane options are available. Connect the receiver to the crane's control system using the wiring harness, ensuring all connections are tight and secure.
4. Connect the Transmitter
After the receiver is installed, it’s time to set up the transmitter. This part of the truck crane remote control system should be easy to use, with clearly labeled buttons for various functions. Follow the manufacturer's instructions to pair the transmitter with the receiver, ensuring proper communication between the two devices.
5. Power Up and Test
Reconnect the crane’s power supply and test the remote control system. Make sure to operate the crane at a safe distance, checking the response of the crane's movements to ensure everything works smoothly. It’s essential to verify the truck crane remote control range and functionality before regular use.
Maintenance Tips for Long-lasting Performance
Regular maintenance of your remote control system is crucial for longevity. Here are some tips:
- Keep the remote and receiver clean and free of debris.
- Check battery life regularly and replace batteries as needed.
- Inspect the wiring and connections for any signs of wear or damage.
Final Thoughts
Understanding how to install a remote control on a truck crane is essential for enhancing your equipment's efficiency and safety. With the right tools and knowledge, this installation can significantly improve the operational capabilities of your crane. Whether you're considering a YLB remote control for truck crane or a custom solution, investing in a remote control system is a step towards safer and more efficient crane operations.